Cut Crease and Bold Lips Makeup Tutorial
17:03Hello everyone!
I thought I'd mix things up today and do a very bold and fun look for you. I know it's not to everyone's taste but I hope you enjoy it nonetheless!

As this is a look that could get a bit messy, I started with the eyes. Firstly, I used my finger to pat on a white cream eyeshadow all over the lid, this will act as a primer. Using a wide, flat brush I pressed a white eyeshadow on top.

Instead of using a gel or liquid eyeliner I decided to use the black from Collection's Smoky Eye Palette. This creates a softer line so that the look is still wearable. For this step make sure to create a wing so it ties in with the cut crease, if you aren't very comfortable with this I would suggest using masking tape as a guide!
(Now, this bit is quite tricky, if you are a beginner maybe start off with a more neutral shade to make mistakes less obvious and work your way up to a dark shadow as you become more confident!) For my cut crease I used a the same black shadow and brush, I worked my way from where my crease starts, along my crease and flicked out in a line parallel to my liner. I then blended it out with a pencil brush.
Top tip: to sharpen up the edges use a detailer brush with concealer, easy peasy!
I finished off with my Benefit Roller Lash (a quick review, it's bloomin' brilliant) and what else but my Seventeen Brow Kit and Maybelline Brow Drama!
 |
| My hand's blurry because it moves so quickly whilst contouring, I am actually surprised there aren't sparks coming from it! |
I don't want to bore you with my base as I kept it very simple and as you've seen it before. I used:
Laura Mercier Foundation Primer (Fingers)
Rimmel Match Perfection Foundation (RT Beauty Blender)
L'Oreal True Match Concealer (RT Beauty Blender)
Rimmel Stay Matte Powder (Glow Powder Brush)
Sleek Blush by 3 in Californ.I.A (Glow Angled Powder Brush)
Benefit Hoola Bronzer (Brush included)
Benefit High Beam (Finger)

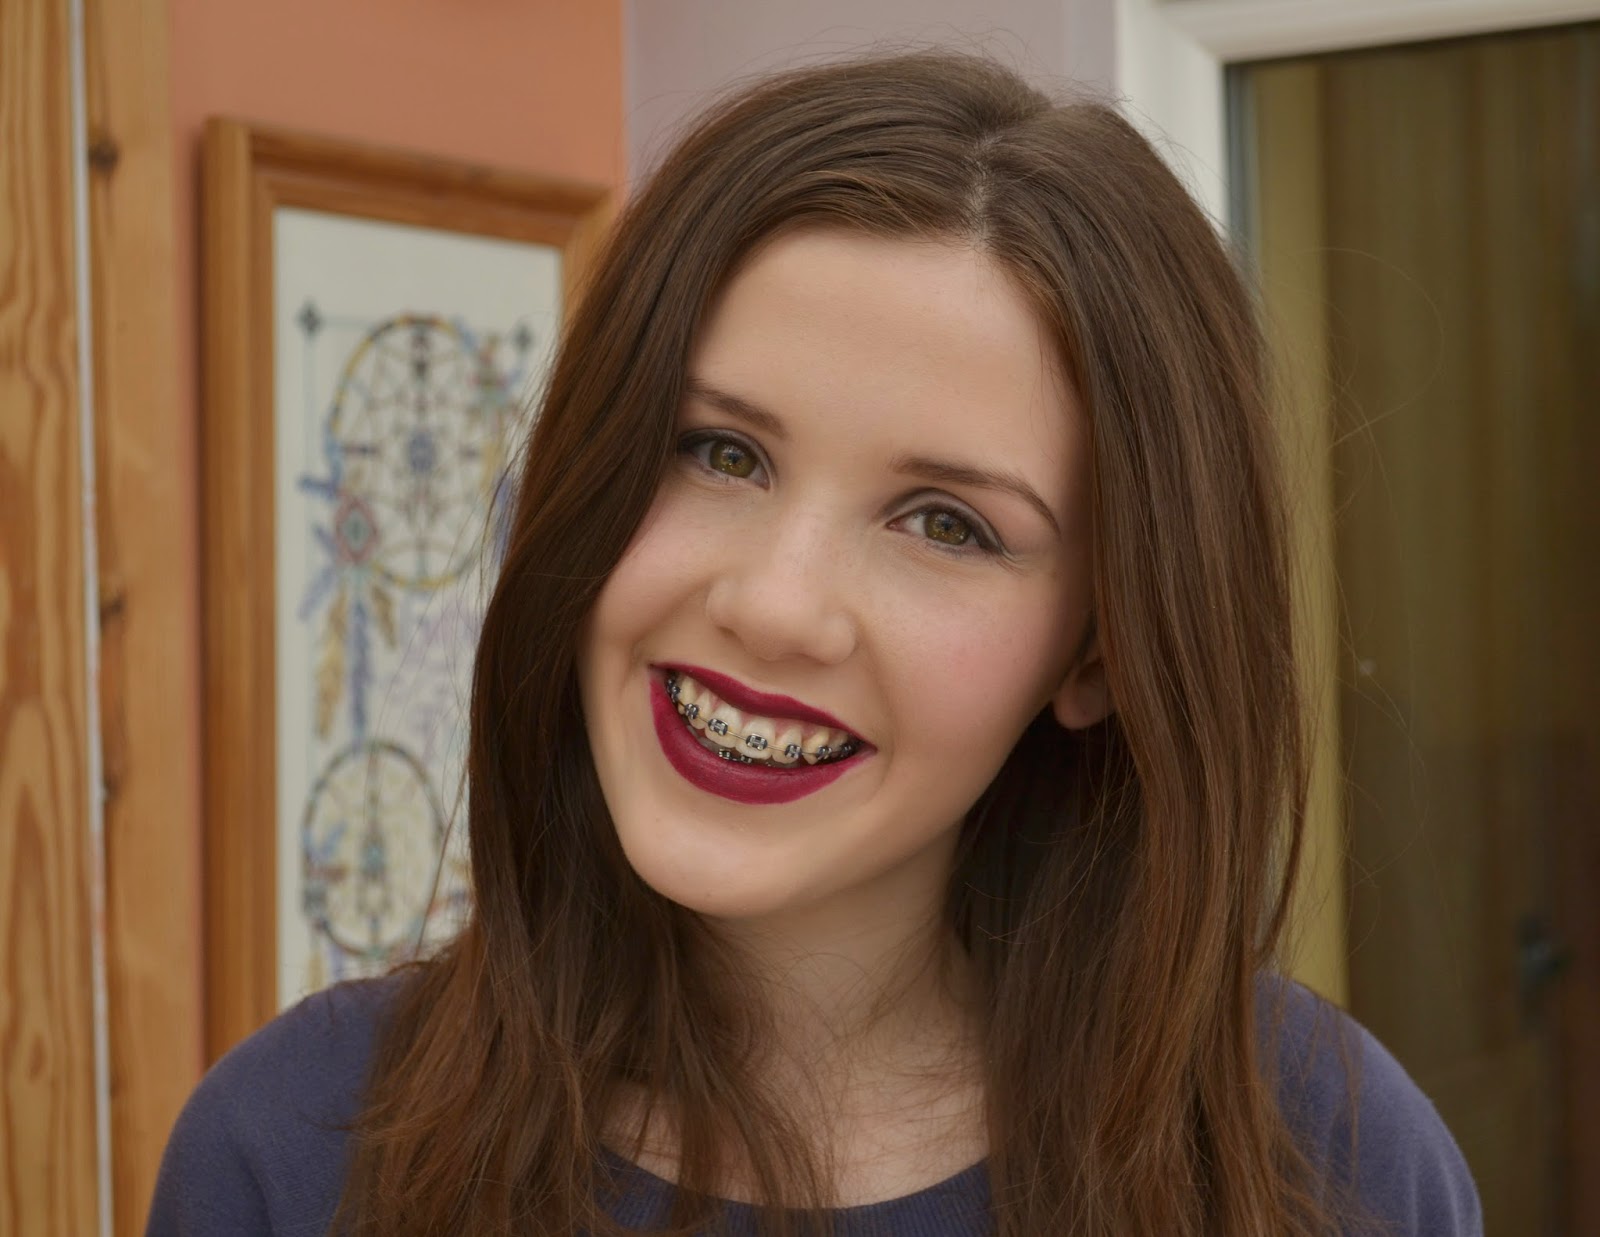
For my lips I used a deep plum colour (Rimmel Kate in 03), you could use any lipstick you wanted! For Spring, I suggest using a vibrant pink but I wanted to go all out with this look!
This is the look complete, I hope you love it as much as I do!
I hope you enjoyed this post,
Bronwyn x


0 comments